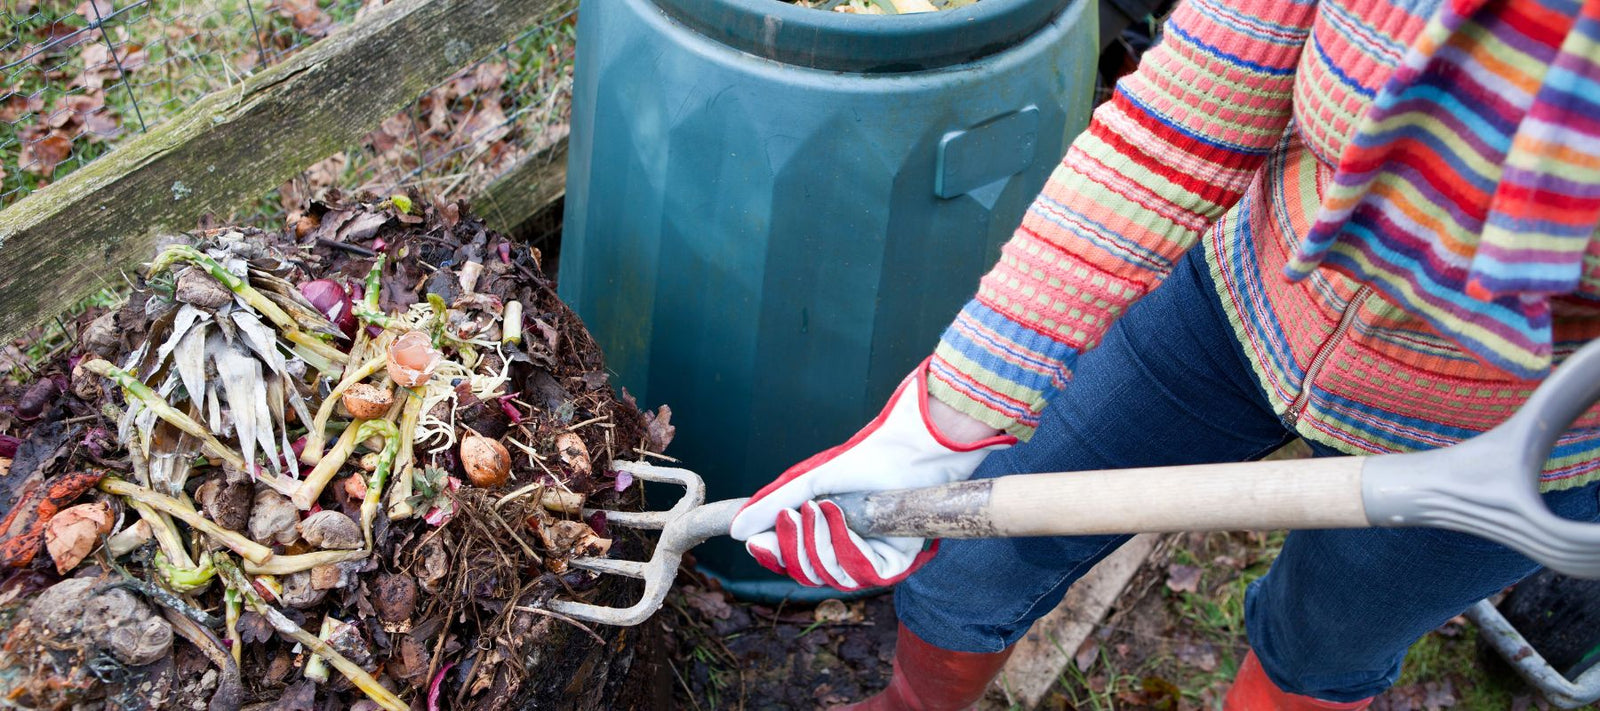
Transforming your green waste into garden gold is a rewarding endeavor, and it all begins with mastering the art of composting. From managing the right balance of green and brown materials to maintaining proper aeration and moisture levels, here are our five key tips for successful composting.
1. Critical Mass
Compost requires a critical mass to get going, which is about 0.5m3 of materials to generate enough heat to kick off the natural decomposition processes.
2. The Carbon/Nitrogen Balance
This is about balancing the brown matter and green matter in your compost at the correct ratios. Brown matter is generally all the dead, dry stuff like twigs, dry leaves, and straw. It is the main source of carbon in your compost. Green matter is fresh and moist, such as vegie scraps and lawn clippings. A healthy compost pile requires at least 1:1 brown (carbon) to green (nitrogen) matter, but up to 30:1 brown to green is equally good. If your compost starts to smell, you have too much green matter to brown matter. Mix in more of the dry stuff and wet it down to rebalance your mix.
3. What can be composted?
There are a lot of rules about what can or cannot be composted. You can compost most green waste, vacuum cleaner dust, prunings and garden waste, and yes, coffee grinds and citrus can also be composted if they are in balance with everything else. Meat scraps and any cooked food scraps may attract rodents and will require a secured covering or in-ground composting. Some food scraps can also be a source of weed seed like tomato, pumpkin and, of course, weeds that have gone to seed. Try to keep these out of your compost otherwise, these can end up popping up everywhere in your garden. These scraps are best fed to the chickens.
4. Moisture
Your compost material should be moist but not soggy. Green materials usually provide all or most of the moisture the compost needs. Turning will cause much of the moisture to steam off, so in dry weather, it may be necessary to add some water.
5. Aeration
Rapid composting will require frequent aeration. This can be achieved by turning your compost regularly, using a drum compost bin that can be rolled to mix the contents or by making holes in your existing compost bin to let some air into the mix.
Composting is an essential component of organic gardening. It recycles our waste, improves soil structure, fertilises and inoculates our soil with beneficial organisms.
Composting is a natural process, yet successful composting often eludes the home gardener. We have all experienced the smelly heap or the dry heap that keeps growing but never seems to produce a usable end result. At Heronswood (and St Erth), we have fairly constant success by using a simple aerobic method and following some basic rules, just like baking a cake or, more appropriately, brewing beer.
 How to make compost
The site
In a suburban situation the position of a compost heap would be limited. It would ideally have some shading in summer. It should have easy access both in terms of depositing waste and removing compost. We have two composting areas – one near our kitchen garden, the other in the ornamental garden – so we can make our compost near where it is to be used. Both our compost areas are in part shade and rest on soil or mulch.
Compost materials
The first phase of the composting process is gathering the compost material. For most gardeners and us, the decision of what to compost is made for us by the garden waste we have at hand. At Heronswood we use prunings, weeds, spent organic potting mix, vegetable kitchen scraps, coffee grounds, lawn clippings and chook poo from cleaning the hen house.
Materials we avoid composting are:
- Any plant material that has a serious persistent disease, especially if from the Solanaceae (tomatoes, potatoes).
- Bulbous weed material like Oxalis that will not be easily killed by the composting process (we are experimenting with drowning the bulbs in a barrel before composting).
- Avoid too many weed seeds or perennial weeds like Kikuyu or Tradescantia if you are not confident of reaching temperatures of 55°C or more.
- Avoid meats and other obvious rodent food in an open heap.
It is vital to see the gathering and sorting of the waste material as a separate step to the actual making of the compost. We have at least three bays working. One with the raw material, another in which the compost pile is made and a third into which the compost is turned and left to mature. Confusing a working compost heap with a pile of random dumped garden waste is one of the primary causes of failure in compost making.
For good, quick composting you need to ensure that material is added according to its carbon (C) and nitrogen (N) ratio. The ideal C:N ratio lies between 20:1 and 40:1.
As you can see, compost requires far more carbon than nitrogen. Too much carbon will slow compost, while higher nitrogen heaps will lose nitrogen to the air in the form of smelly ammonias. You also need to balance the moisture content by adding wet material, like grass clippings, with dried wood prunings.
Making the compost heap - size matters
A cubic metre seems to be the accepted minimum size for a heap. The mass of the heap and its surface-to-volume ratio limit heat loss. If a heap were to get much bigger than this, oxygen supply to the centre would be compromised. We keep our heaps contained in bays that help maintain the heaps' proportion and insulate the sides. Just as the size of the heap matters, so too does the size of the particles we put in the heap.
At Heronswood our chipper transforms woody waste that has lain inert for weeks into a steaming pile. Any way you can mechanically reduce the size of the particles being composted will speed up the process. Once chipped, the material is combined with grass clippings, soft weeds and vegetable cuttings in layers.
Depending on the material we have at hand, if there is a lot of woody material, we sometimes add blood and bone as we go to increase the nitrogen level. By making sure we have a good ratio of compost materials, we avoid pH problems, we don't add lime.
The breakdown process
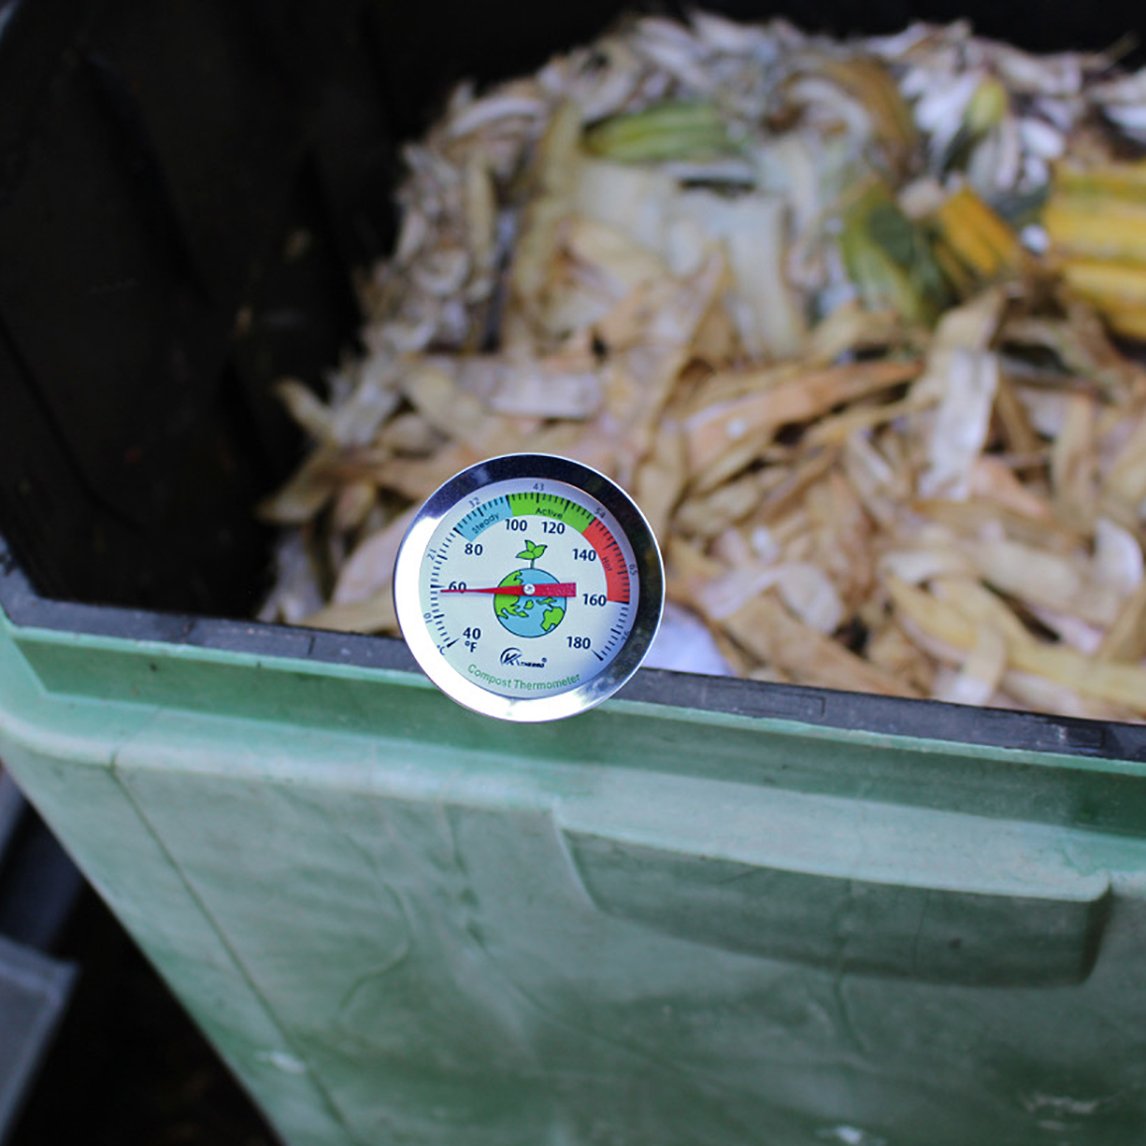
Soon after being made, the temperature in the heap rises as thermophillic, heat-loving bacteria begin the breakdown process. The temperature in our heap reaches 55-60°C. It needs to remain this hot for a week to ensure that all weed seeds and pathogens are killed.
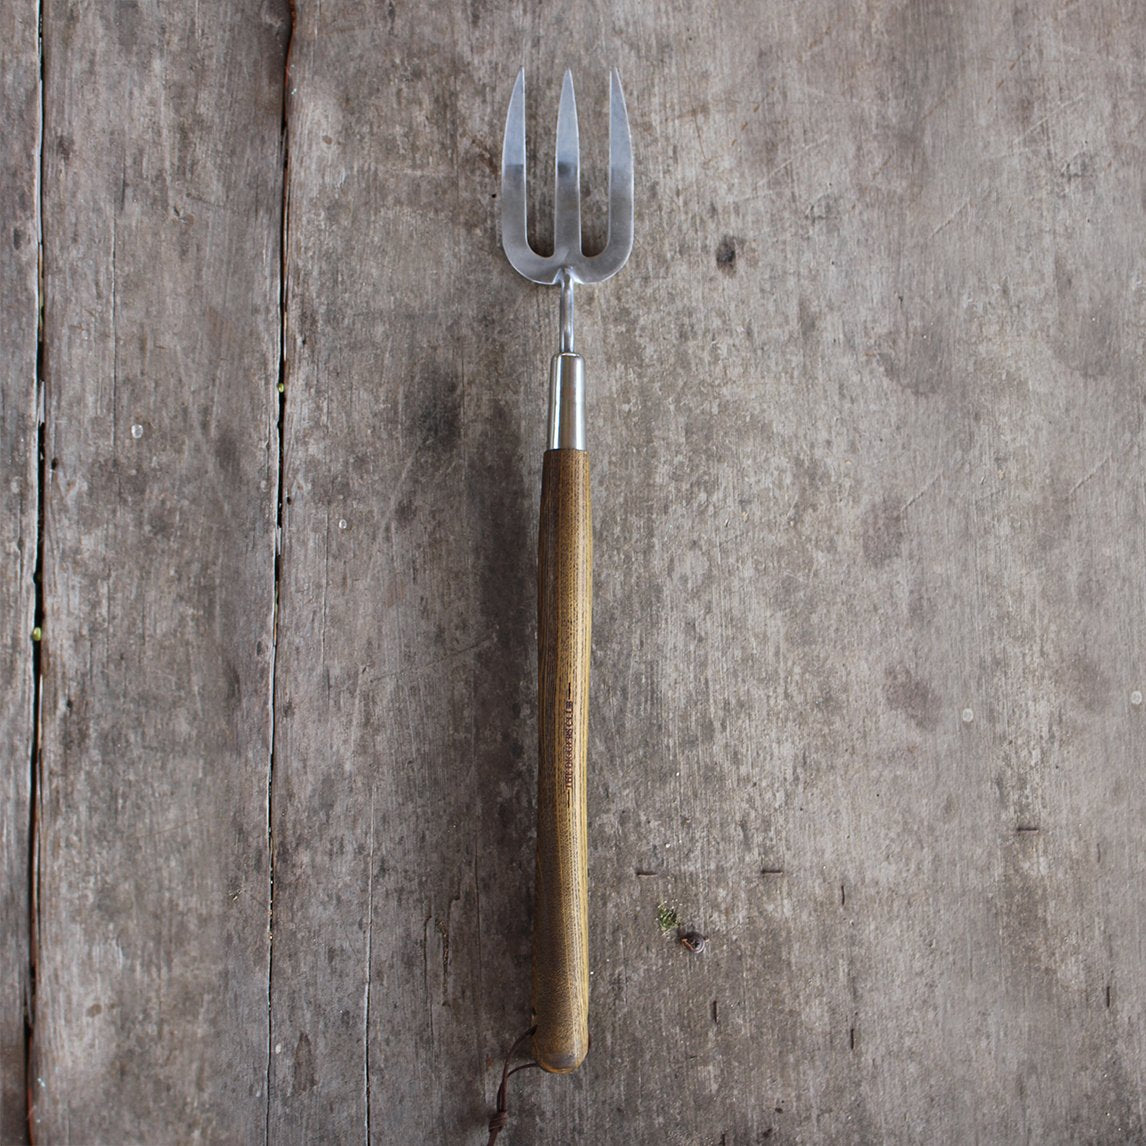
To keep the temperature up, we turn the heap several times. In turning the heap, we try to invert the mix to ensure even heating, this is helped by turning the heap into a second bay. To ensure it is well-aerated, we are careful not to compact the heap when we are forking it.
Keeping the heap moist is a challenge, especially in dry summers. We add water as needed when we turn the heap. Covering the heap is important to insulate it, thus
maintaining moisture and temperature levels.
After two weeks the temperature drops and a new group of organisms, mainly fungi, now colonise the heap. It is in this phase that humus begins to develop. Once the heap reaches a stable ambient temperature it is left to mature and earthworms begin to colonise the heap. The whole process takes several months. Timing varies depending if it's in the cool of winter or the heat of summer.
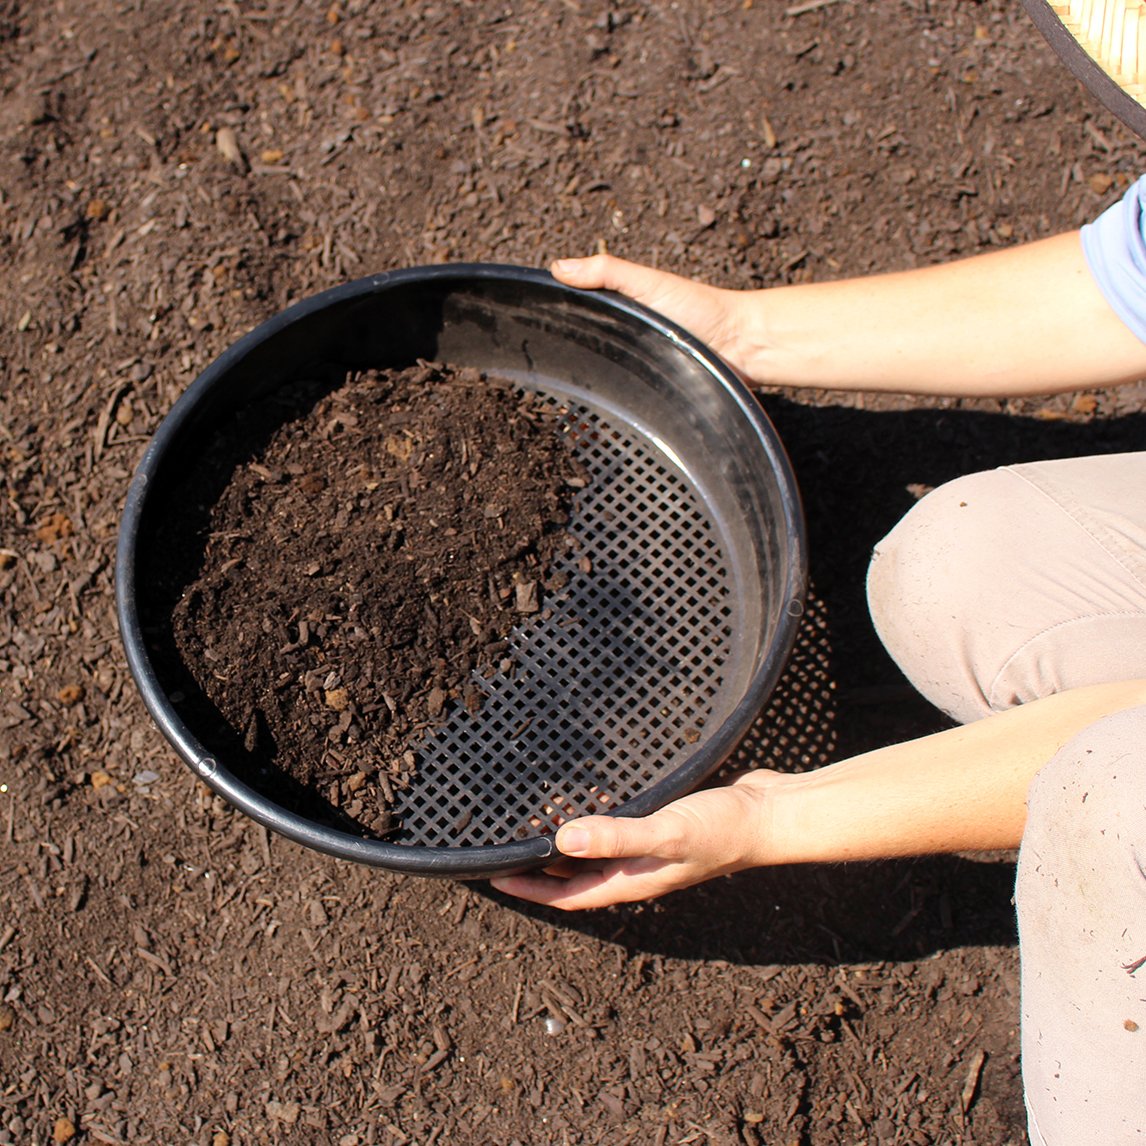
Ideally, the final product is dark and smells earthy, with an even consistency and is weed and disease free. Occasionally, seeds like amaranth, or marigolds slip through. We apply the compost as mulch to our garden beds, letting the humic goodness percolate into the soil.
Getting Compost Hot
In colder regions, it is more challenging to compost in winter because more of the heat generated from a compost pile will escape to the outside environment.
Colder temperatures will slow down the bacterial and microorganism activity in your pile, which means the microbes will generate less heat.
So, you need to do things a bit differently to hot compost in Winter.
Follow these simple steps to achieve a hot, steaming compost pile:
-
Make your pile larger than a summer pile by around 50%. By having a larger pile, it will be better insulated against the outside air temperature, allowing the centre of the pile to reach and sustain a higher temperature.
-
Use alternate green materials. In summer, we can use nitrogen-rich grass clippings, but in winter, grass doesn’t grow as quickly. Alternate materials are kitchen scraps. Pumpkin scraps are one of the best green materials for winter composting, as are coffee grounds. Add carbon-rich brown materials without weed seeds, as temperatures may not reach the threshold for killing weed seeds
-
Only turn your pile once per week to ensure heat isn’t lost unnecessarily.
-
Continue to add green material to your pile each week (kitchen scraps/coffee grounds) to help keep the temperature up
Continue to mix it and maintain some moisture until the compost looks like crumbly dirt and smells like freshly dug dirt. At this point, the compost is ready to use in the garden.
The colour of mould (typically green black, white or pink) is typically determined by the type of material on which it feeds and the climate and region its found.

Different coloured moulds and what they mean
White mould
White mould in compost is nothing to worry about! White mould is common and usually found on particles of wood in compost. The white mould in a hot compost is a very good sign that the compost is decomposing correctly. It is often seen on dead matter like compost, and it signifies full decomposition. It is a good sign in compost if it is mixed properly.
Green mould
Green mould is the most common colour to see in your compost and usually grows in composts with a large amount of food waste.
Pink mould
The pink colour of mould is usually caused by cleaning substances in your compost. Those cleaning products have the capability to kill the organisms that help in the decomposition process. It’s important to eliminate this type of mould by avoiding using water that contains soap into your compost pile.
In general, the mould in your compost pile won’t harm you during the handling of your compost. If you are sensitive to mould spores, wear a mask when turning your compost to prevent inhaling those spores. It is advisable to avoid building a compost pile that has meat or dairy products as it can encourage harmful bacteria and mould.
Composting Safety Precautions
-
Choose a Safe Spot – Place your compost bin in a well-ventilated area, away from your home and water sources. Avoid wooden structures to prevent damage.
-
Wear Protection – Use gloves when handling compost and a mask if you have allergies, as spores can be airborne.
-
Avoid Unsafe Materials – Do not compost meat, dairy, oily foods, diseased plants, or chemically treated waste.
-
Manage Moisture & Airflow – Keep compost damp but not soaked, and turn it regularly to prevent odours and harmful bacteria.
-
Deter Pests – Use a secure bin with a lid and bury food scraps under dry materials like leaves.
-
Wash Hands Thoroughly – Always clean your hands after handling compost to reduce the risk of bacteria exposure.
-
Ensure Ventilation – Composting in enclosed spaces can lead to gas build-up; keep the area well-aired.
-
Handle Mould Safely – If excessive mould appears, turn the compost to improve airflow and moisture balance.
-
Keep Children & Pets Away – Supervise young children and pets to prevent accidental contact or ingestion.


